Selecting the best reverb for Reaper is crucial for music producers and sound engineers aiming to enhance their tracks. The right reverb adds depth and dimension, significantly impacting the overall sound quality.
In this guide, we’ll explain how to choose and apply a reverb that works for your needs. We will also review our top four reverb plugins for Reaper.
Elevating Your Mixes in Reaper with The Right Reverb
Reverb is not just an effect; it’s an essential tool for creating depth, space, and emotion in your music. It can turn a flat, lifeless mix into a vibrant, atmospheric soundscape.
Choosing the best reverb for Reaper projects can elevate your mixes to professional standards. Fortunately, Reaper is known for its flexibility, including a wide range of reverb options to explore.
Whether you’re blending vocals, adding space to your drums, or creating an ambient landscape, Reaper has the tools you need.
How To Access Reverb Plugins In Reaper
Before diving into how to access reverb plugins in Reaper, it’s important to understand the role of reverb in your mixes. Reaper accommodates this need through its built-in plugins and support for third-party options.
To access and utilize reverb plugins in Reaper, follow these steps:
- Launch Reaper: Open your project within the DAW to begin.
- Select a Track: Choose the track you want to add reverb to.
- Access FX: Click the FX button on the track. This action opens the FX window.
- Add Reverb Plugin: Press Add in the FX window. Browse and select from available reverb plugins, including Reaper’s native ReaVerb or ReaVerbate, as well as third-party options.
- Configure Settings: Adjust the reverb plugin’s settings to match your mix’s needs after selection. Experiment with room size, decay, and the balance between wet and dry signals.
- Apply and Adjust: Play the track to listen to the reverb effect. Tweak the settings as needed for the best sound.
Finding the Best Reverb for Reaper (Top 4)
Finding the best reverb for Reaper can dramatically elevate the quality and depth of your mixes. This section introduces the top four revered reverb plugins, each known for its unique characteristics and contributions to sound production.
#1) Sanford Reverb: Depth and Warmth for Every Mix
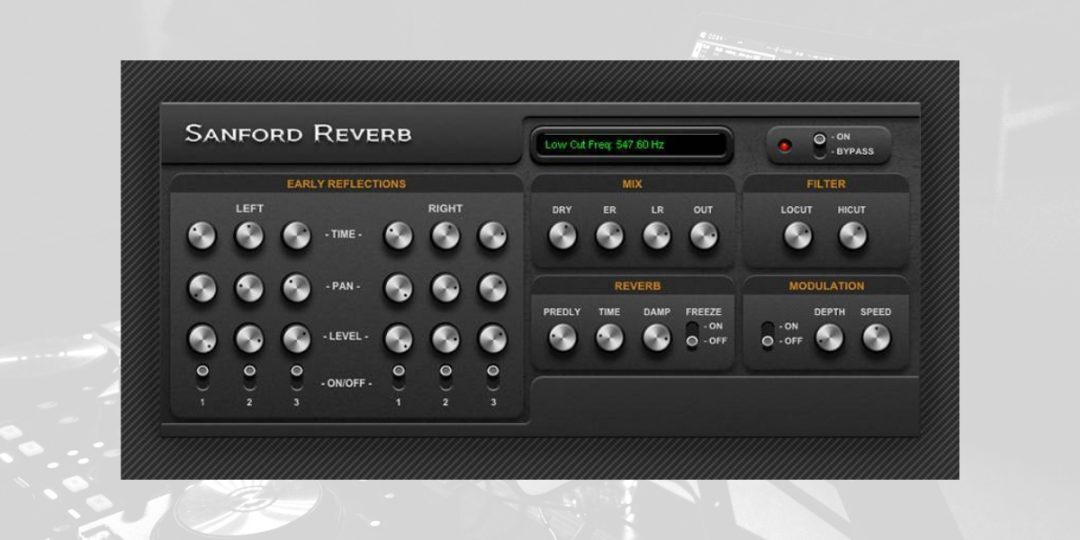
Sanford Reverb is celebrated for its versatility and warmth, providing depth to every mix without overwhelming the original sound.
Its key features include a wide range of adjustable parameters such as room size, damping, and stereo width. These parameters allow for precise control over the reverb effect.
This plugin shines in its ability to add a natural and warm reverb, enhancing the mix rather than detracting from it. Its user-friendly interface makes it accessible for beginners, yet its depth of control and quality of sound are appreciated by professional engineers.
Sanford Reverb is well-regarded for its efficiency in CPU usage. It can be used extensively in projects without compromising system performance, which is a huge plus.
This plugin is a valuable tool for those looking to imbue their mixes with a sense of space and warmth, making it a must-have in any audio engineer’s toolkit.
#2) Valhalla Supermassive: Vast Spaces and Ethereal Atmospheres
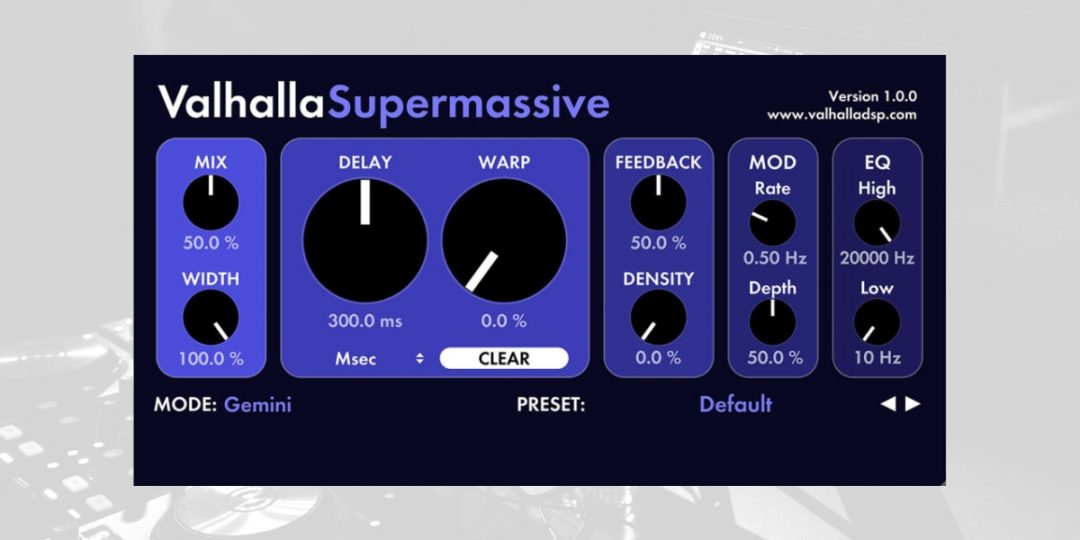
Valhalla Supermassive is designed to transcend traditional reverb sounds, offering vast spaces and ethereal atmospheres that can dramatically transform audio. It stands out for its unique algorithms that provide everything from dense reverbs to expansive delays, making it incredibly versatile.
Valhalla Supermassive is known far and wide for its ease of use. It features a straightforward interface that allows for quick but detailed adjustments, catering to both novices and experienced users.
One of its standout features is the ability to create modulated reverbs and delays that are perfect for ambient textures and spacey soundscapes. Valhalla Supermassive is also free, making it an attractive option for producers and engineers of all levels who wish to experiment with their sound without financial commitment.
Lastly, its inclusion of presets designed by top engineers enables users to quickly find the perfect setting for their tracks.
#3) OrilRiver: A Detailed Approach to Algorithmic Reverb
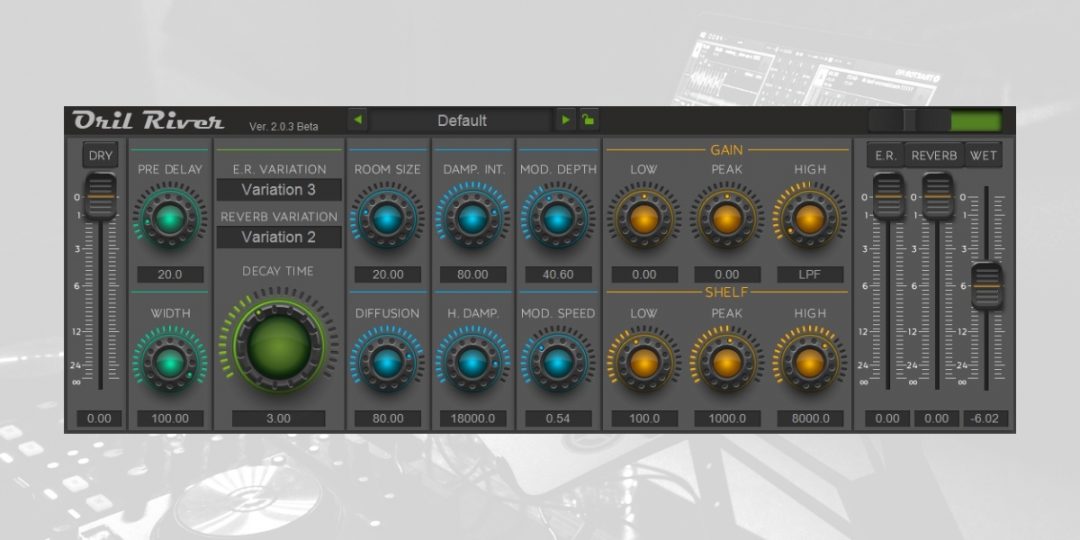
OrilRiver stands among reverbs with its algorithmic design that caters to a wide range of reverberation effects. This includes everything from intimate rooms to grand halls.
Its standout feature is the dual reverb algorithm, enabling users to craft both subtle and expansive spatial effects with ease. The plugin offers detailed control over reverb characteristics through parameters like room size, damping, width, and an EQ section with high-pass and low-pass filters for tail sculpting.
Additionally, its pre-delay section can sync with the project tempo, introducing a rhythmic component to the reverb tail. OrilRiver’s modulation capabilities add depth and movement, enriching the mix without overwhelming it.
With an intuitive interface, OrilRiver appeals to both novices and seasoned professionals by providing a visual representation of adjustments. This, combined with its plate reverb emulation and synchronization features, makes it perfect for adding spatial depth to tracks.
Its quality rivals that of paid plugins. This makes OrilRiver a valuable addition for producers and engineers aiming for professional sounds without the cost.
#4) ReaVerb: Maximizing Reaper’s Stock Plugin for Quality Sound
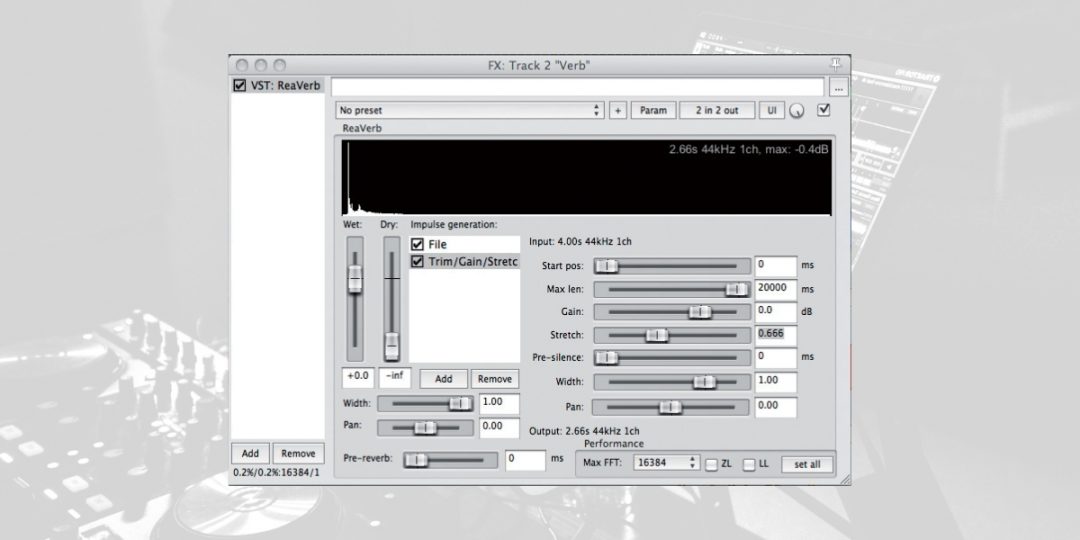
ReaVerb, Reaper’s stock reverb plugin, offers an impressive range of reverb capabilities, from convolution-based reverbs to algorithmic echoes. It allows users to load impulse responses for authentic reverb simulations of real-life spaces or to tweak algorithmic reverb settings for unique soundscapes.
ReaVerb is highly flexible, supporting a wide range of audio manipulation tools for tailoring the reverb to the mix’s needs. Despite being a stock plugin, ReaVerb’s depth and quality rival many standalone reverb plugins.
This means that it’s a valuable asset for Reaper users deserving of a spot on our list. It is particularly noted for its ability to blend seamlessly with a mix, providing depth and dimension without sacrificing clarity.
Download our most popular resource: 6 Steps for Creating Radio Ready songs to learn the fundamentals of what goes into a professional mix from renowned Producer, Songwriter & Mixer Warren Huart, who has worked on several Grammy-nominated albums!
Mixing Tips for Applying Reverb in Reaper
Achieving a professional-sounding mix in Reaper involves effectively using reverb. You could accidentally end up with a muddy or overcrowded mix if not applied correctly.
Let’s explore some basic, essential techniques for balancing wet and dry signals and using EQ to clean up reverb tails.
Balancing Wet and Dry Signals for Realistic Environments
Creating a realistic environment in your mix involves careful balancing of the wet (effected) and dry (un-effected) signals. Here’s how to achieve this balance:
- Identify the Role of the Track: Firstly, decide whether the track should stand out or blend into the background. This decision will influence your wet/dry balance.
- Start Dry: Next, begin with your wet signal dialed down and slowly increase it until you achieve the desired ambiance.
- Use Automation: For dynamic parts of the song, automate the wet/dry balance to maintain clarity and focus.
- Consider the Genre: Different genres demand different levels of reverb. For instance, ambient music might require more wet signals compared to rock or pop.
Ultimately, balancing these signals ensures that your tracks sit well in the mix. It also adds a l depth without losing the original sound’s integrity.
EQ Tips for Cleaner Reverb Tails
Reverb tails can sometimes clutter your mix, especially in the low end. Using Reaper’s EQ effectively can help maintain clarity. Here’s how:
- High-Pass Filter: Apply a high-pass filter to the reverb return channel. Cutting frequencies below 100-200 Hz can reduce muddiness.
- Dip the Mids: If the reverb tail is overwhelming the mix, consider applying a slight dip in the mid frequencies. This can help the original signal stand out.
- Brighten with High Shelf: For a more ethereal or ‘airy’ reverb, apply a gentle high-shelf boost on the reverb return.
By EQing your reverb returns, you ensure that your reverb enhances rather than detracts from your mix, providing a cleaner and more professional sound.
Conclusion: Transforming Your Tracks with Superior Reverb Effects
Finding the best reverb for Reaper for your needs is an essential process for improving your music’s depth and atmosphere. Sanford Reverb, Valhalla Supermassive, OrilRiver, and ReaVerb all offer a range of options for creating the perfect sound.
Effective application and adjustment of these plugins can dramatically elevate your music, making it resonate more with your audience. By carefully selecting and skillfully applying the right reverb, you can transform your tracks into immersive audio experiences.
Once you’ve fine-tuned your reverb settings, it’s a great idea to level up your Reaper expertise with our Ultimate Guide To Reaper course. This best-selling masterclass, led by Adam Steel, dives into the essentials and beyond. It covers everything you need to know, including setup, recording, editing, and advanced mixing in Reaper 7.
In just over 12 hours of instruction, you’ll uncover the software’s capabilities, streamlining your workflow and elevating your music production. This course is an invaluable resource for every Reaper user, regardless of skill level!

